How to Calibrate Xhorse Dolphin XP-007 Clamp?
Tutorial on how to use Xhorse Dolphin XP007 Key Cutting Machine to calibrate Clamp, and to make key.
Here you are:
To calibrate the clamp of Xhorse dolphin XP007 manual key cutting machine, you will need 2.5mm probe.
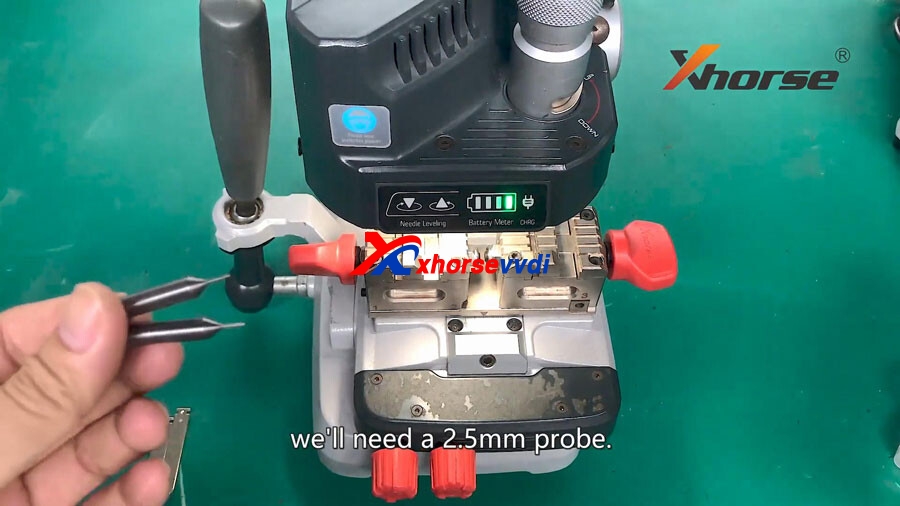
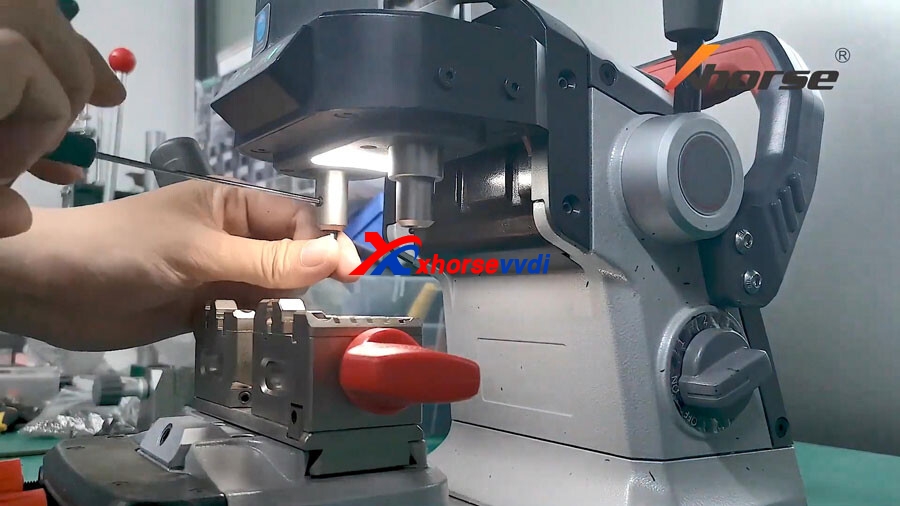
Now stick the probe in and tighten up.
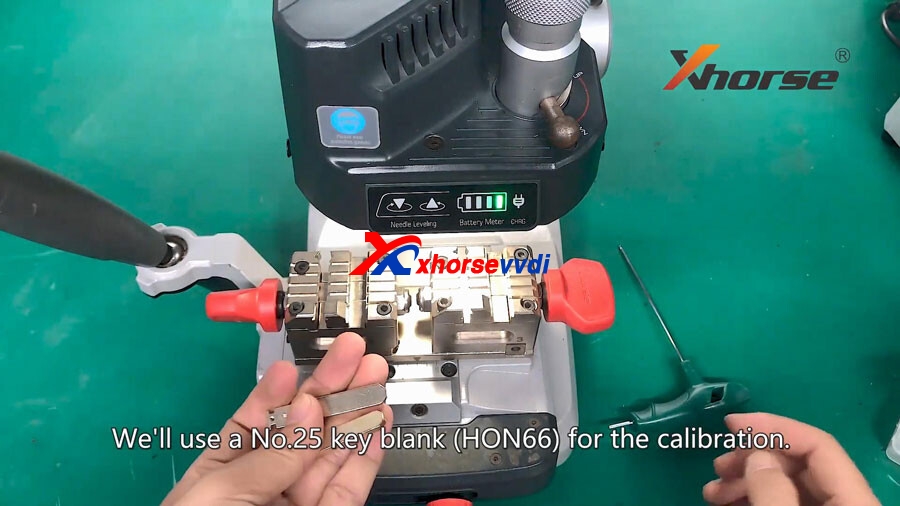
we use a No.25 key blank (HON66) for the calibration.
Insert the key into the clamp and tighten up.
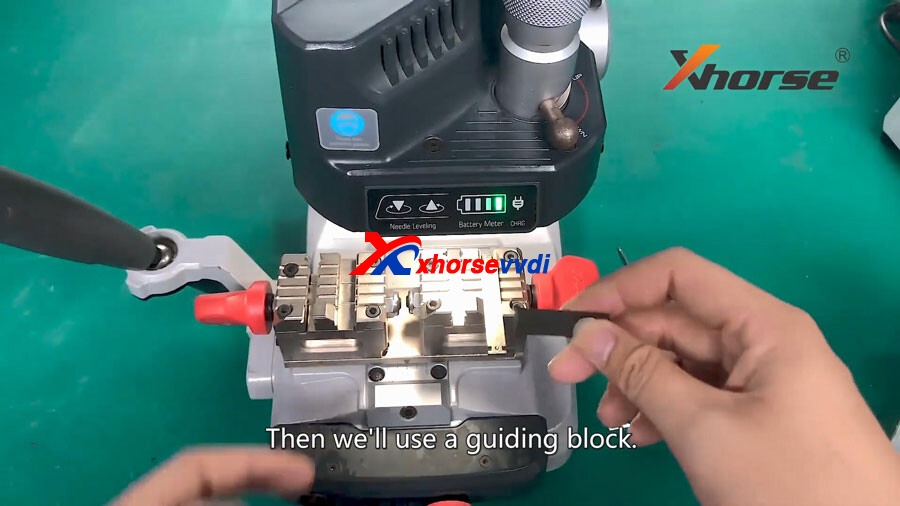
Then we will use a guiding block.
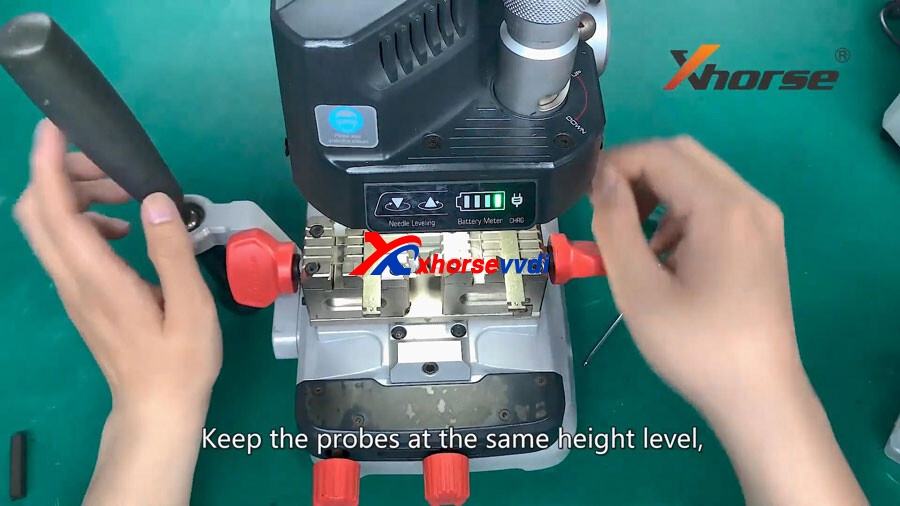
After that, we will need to pay attention to this two indicator lights (needle leveling and battery meter), this is a prepositioning switch knob, if it's down, you can move the probe.
If it is up, the probe is stationary.
Keep the probes at the same height level.
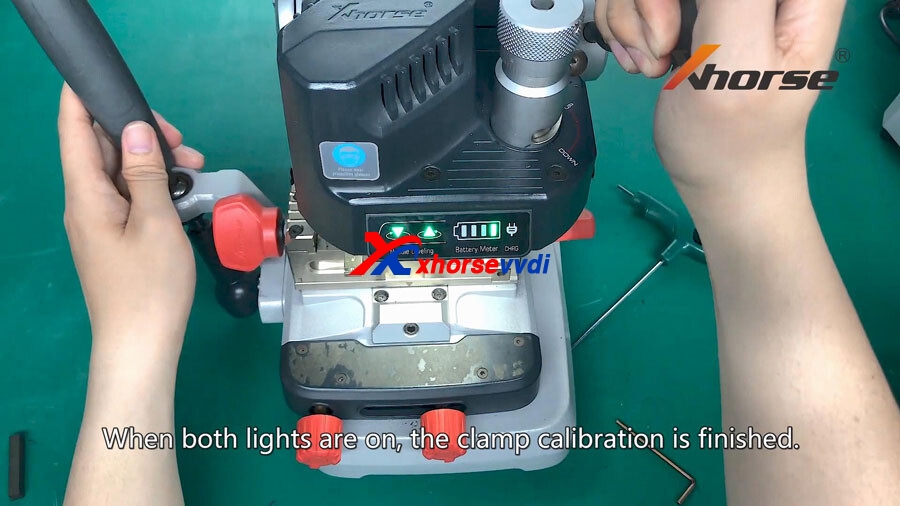
Roll down the handle to see if the two lights are on simultaneously.
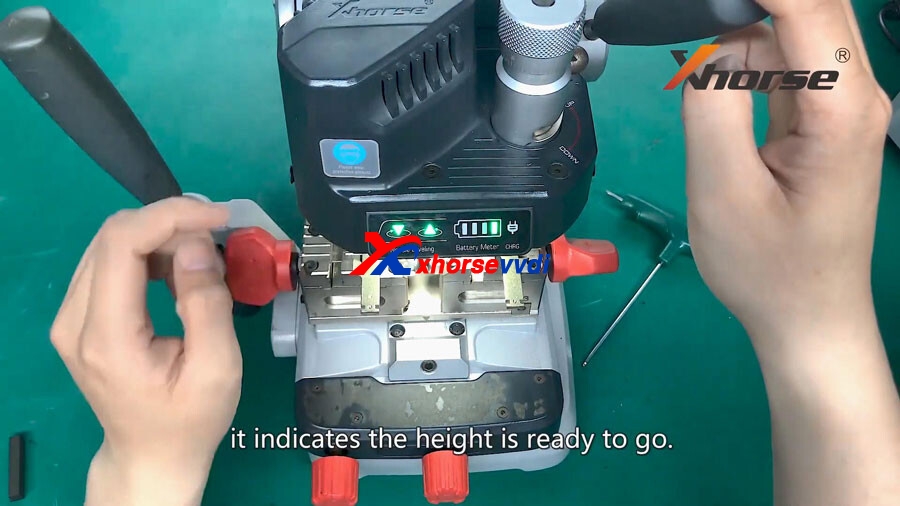
This knob is used for Micro-adjustment.
Turn the knob counter-clockwise, it will go down, clockwise will lead to going-up.
if the two lights go on at the same time, it indicates the height is ready to go.
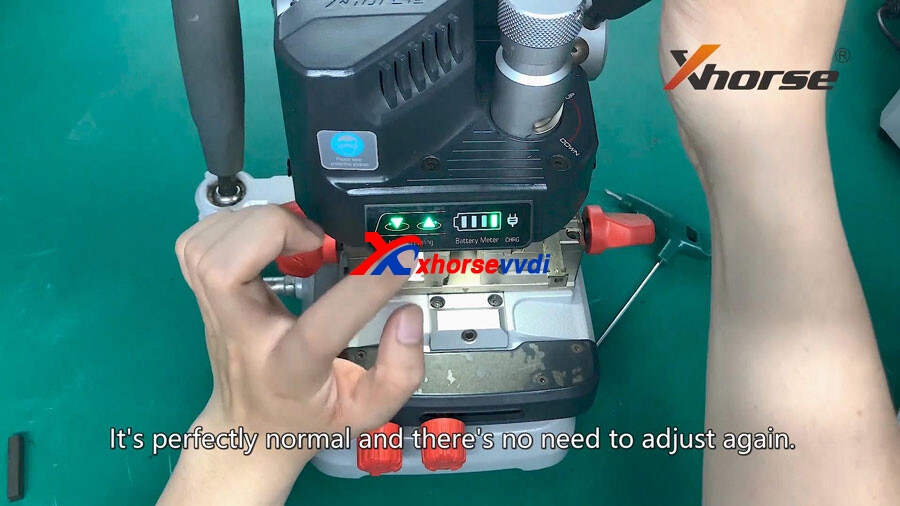
You can also try to press different positions, if one light is out, but now you press harder, it's on. It is perfect normal and there's no need to adjust again.
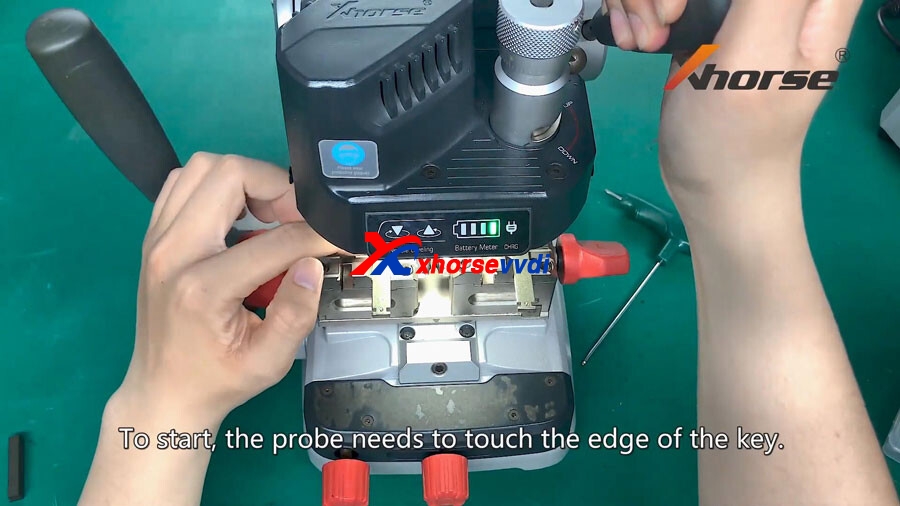
Now we will turn to horizontal collaboration.
And we'll do X-Axis calibration first, to start, the probe needs to touch the edge of the key.
If the needle leveling light is out, roll down the handle and rotate the handle clockwise.
There are two screws in position 1 and position2 and we need to adjust the screw.
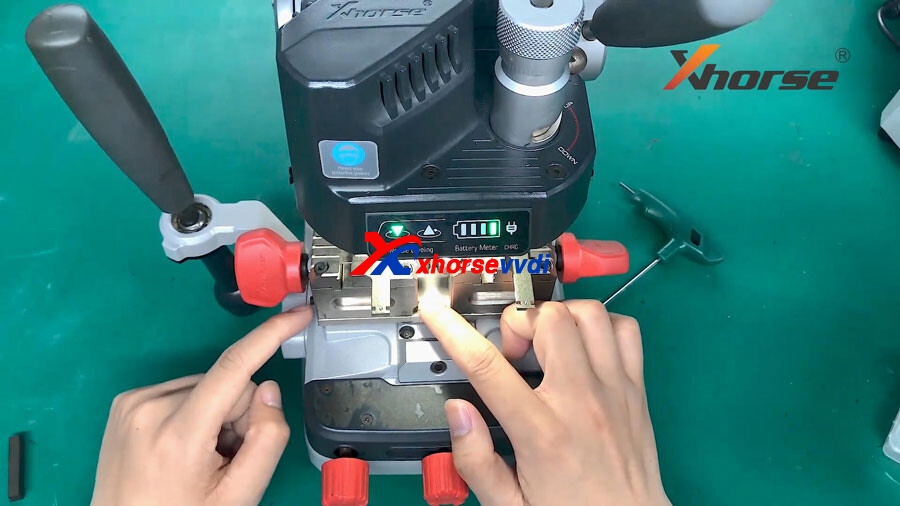
Now the battery meter light is out, we need to tighten the screw in position 2, if the l needle leveling light is out, we will need to tighten the screw in position 1.
Now try to slide the jaw.
Both lights are on, tighten the left screw, now X-axis calibration is done.

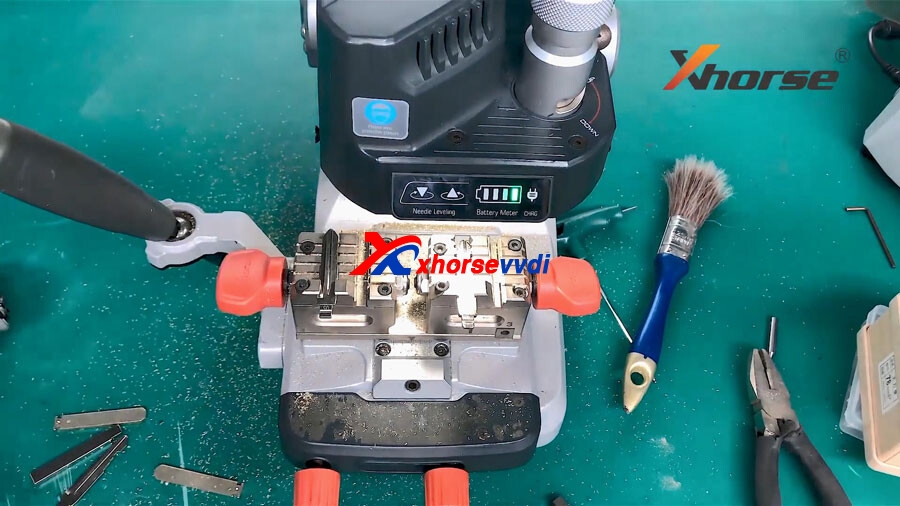
Next we move to y-axis calibration.
Keep the handle fixed for y-axis calibration, we will need to adjust the position 3 and position 4.
Now the needle leveling light is out, we'll need to loosen position3 and tighten position 4.
When both lights are on, the clamp calibration is finished.
After calibration,we will try to duplicate the key for you guys and demonstrate how Dolphin XP007 works.
Enjoy!